Claude
Connect Claude Code and Claude App to Kondo MCP
Follow the section for the one you use: Claude Code runs in your terminal, and the Claude app runs on the web, macOS and Windows.
Connect Claude Code to Kondo
- In your terminal, add Kondo to Claude Code:
- If you’re using Kondo’s Extension:
- If you’re using Kondo’s Desktop App:
- Start Claude Code. If it’s already open, quit and start it again so it picks up Kondo.
- Type
/mcp, select kondo, and choose Authenticate. - Your browser opens. Sign in to your Kondo account, then go back to Claude Code:
/mcpnow shows kondo as connected.
--scope user makes Kondo available wherever you open Claude Code, not just in the folder you ran the command in.
Connect the Claude app to Kondo
- On the web, open claude.ai/settings/integrations. In the macOS or Windows app, open Settings > Connectors (or Customize > Connectors).
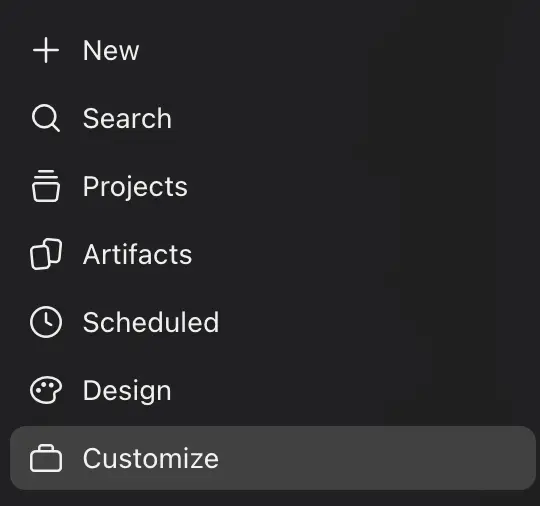
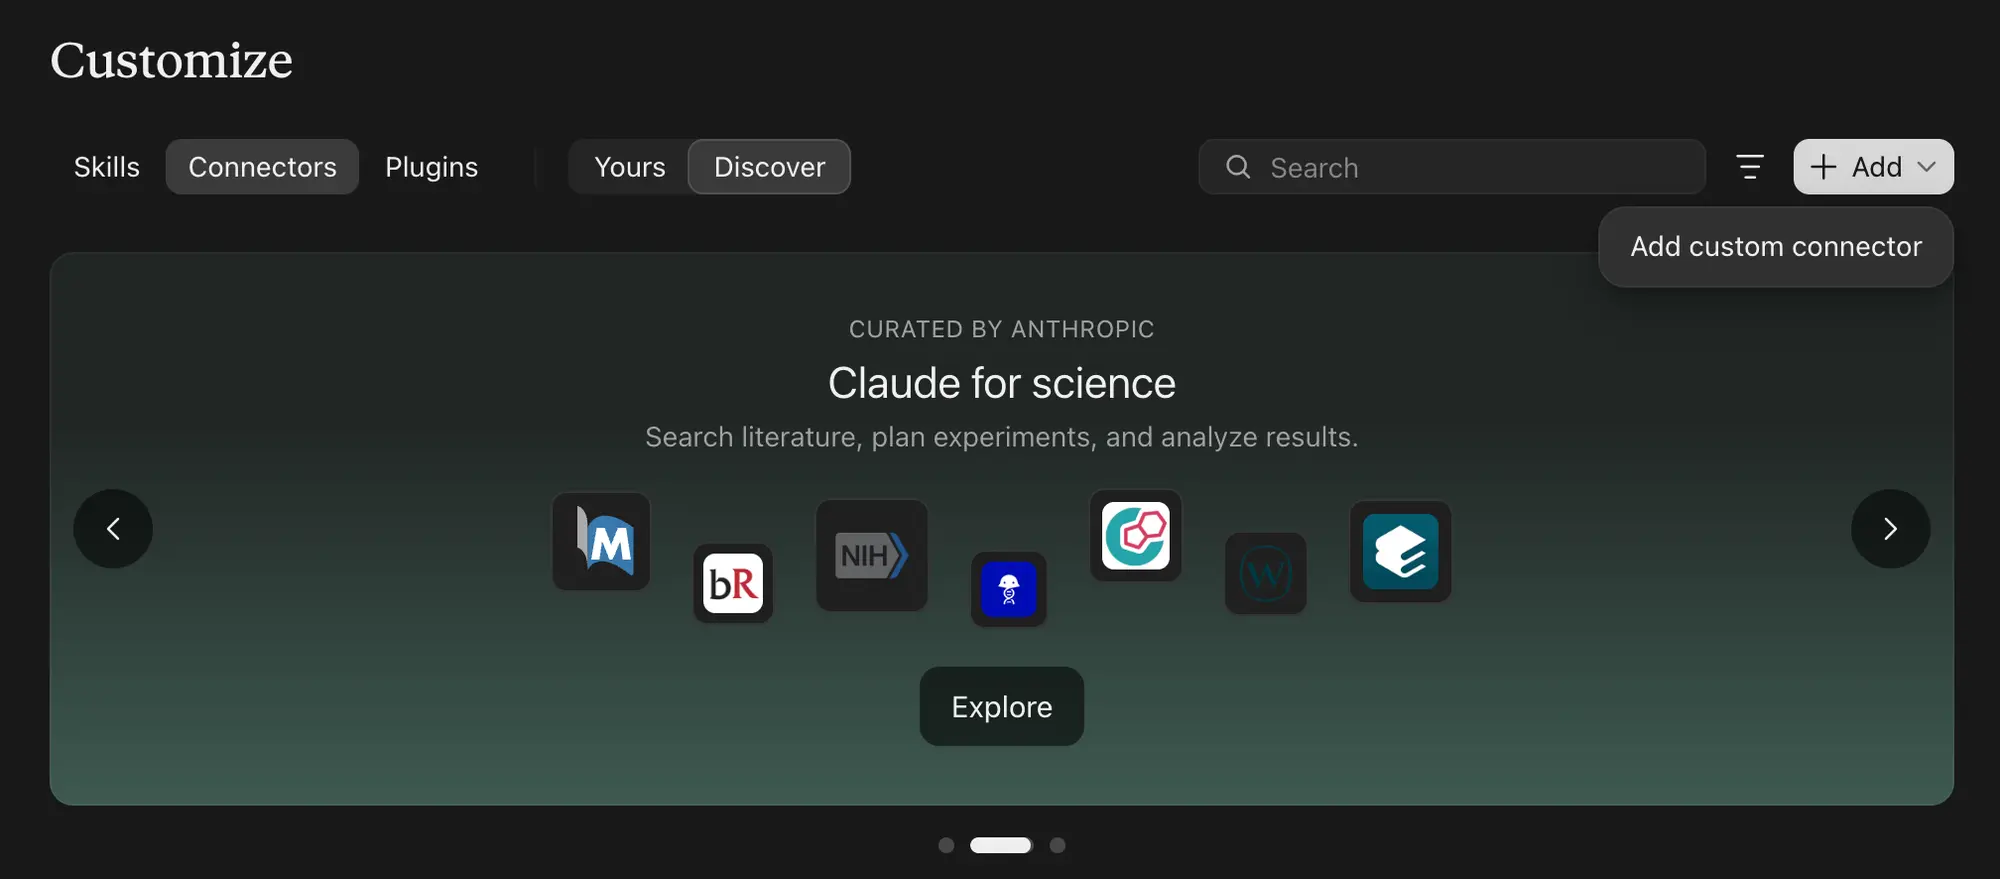
- On the web, click Add more integrations, then Add custom MCP server. In the app, click Add, then Add custom connector.
- Name it Kondo and enter the server URL:
- If you’re using Kondo’s Extension:
https://relay.trykondo.com/mcp - If you’re using Kondo’s Desktop App:
https://mcp.trykondo.com/mcp
- If you’re using Kondo’s Extension:
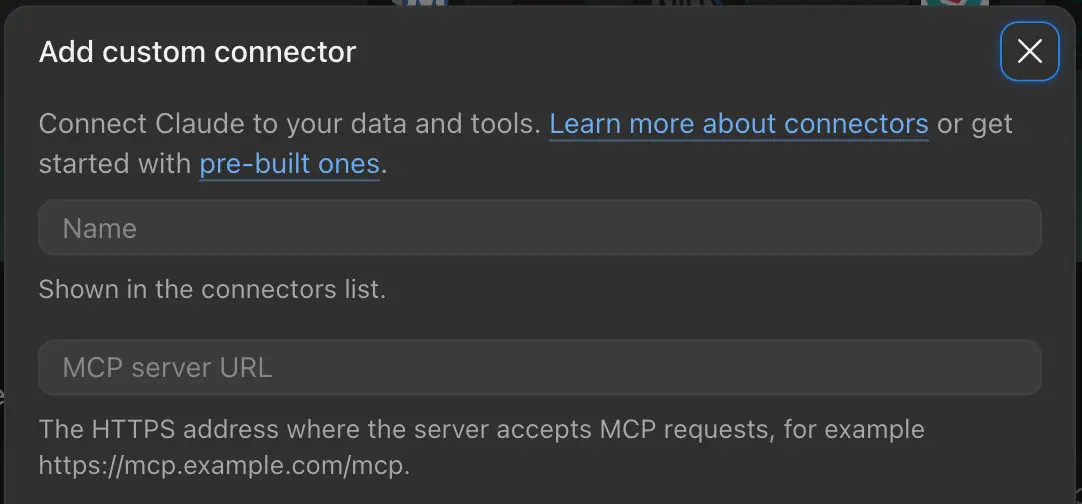
- Click Add and sign in to your Kondo account.
Start a new chat. Kondo’s tools appear in the tools menu.