ChatGPT and Dots
Connect ChatGPT and Dots to Kondo MCP
Requires a ChatGPT Business, Enterprise, or Edu plan. Plus/Pro users can connect via Developer Mode but cannot publish apps to a workspace.
A workspace Admin or Owner must first enable Developer Mode in Settings > Apps > Advanced settings > Developer mode.
Connect ChatGPT and Dots to Kondo
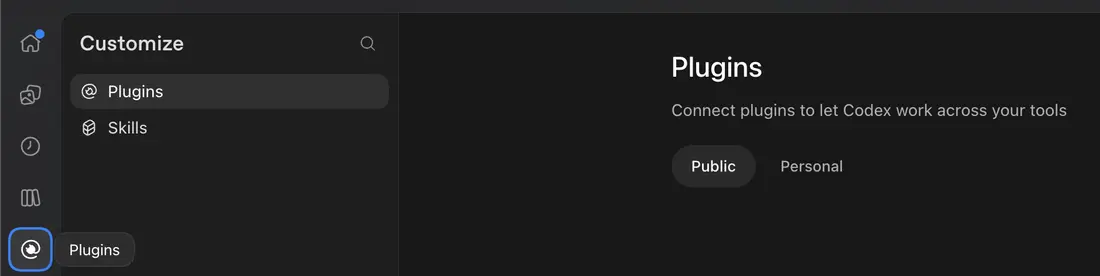
- In ChatGPT or Dots, go to Customize > Plugins.
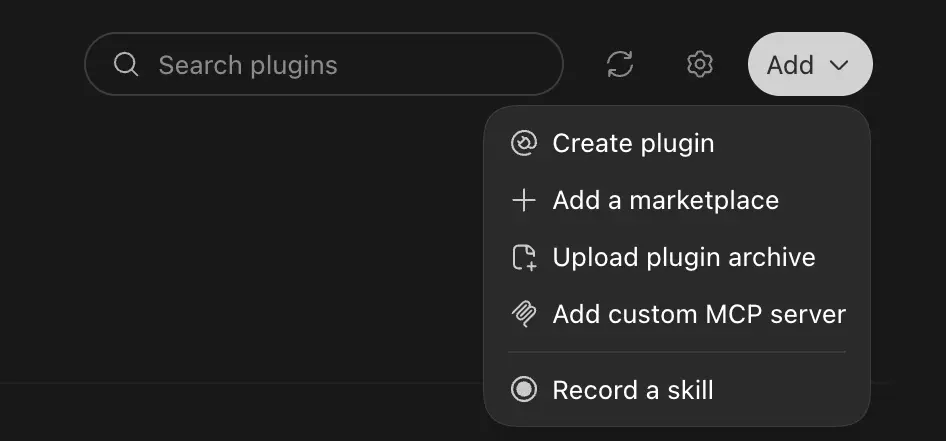
- Click Add, then Add custom MCP server.
- Name it Kondo and enter the server URL:
- If you’re using Kondo’s Extension:
https://relay.trykondo.com/mcp - If you’re using Kondo’s Desktop App:
https://mcp.trykondo.com/mcp
- If you’re using Kondo’s Extension:
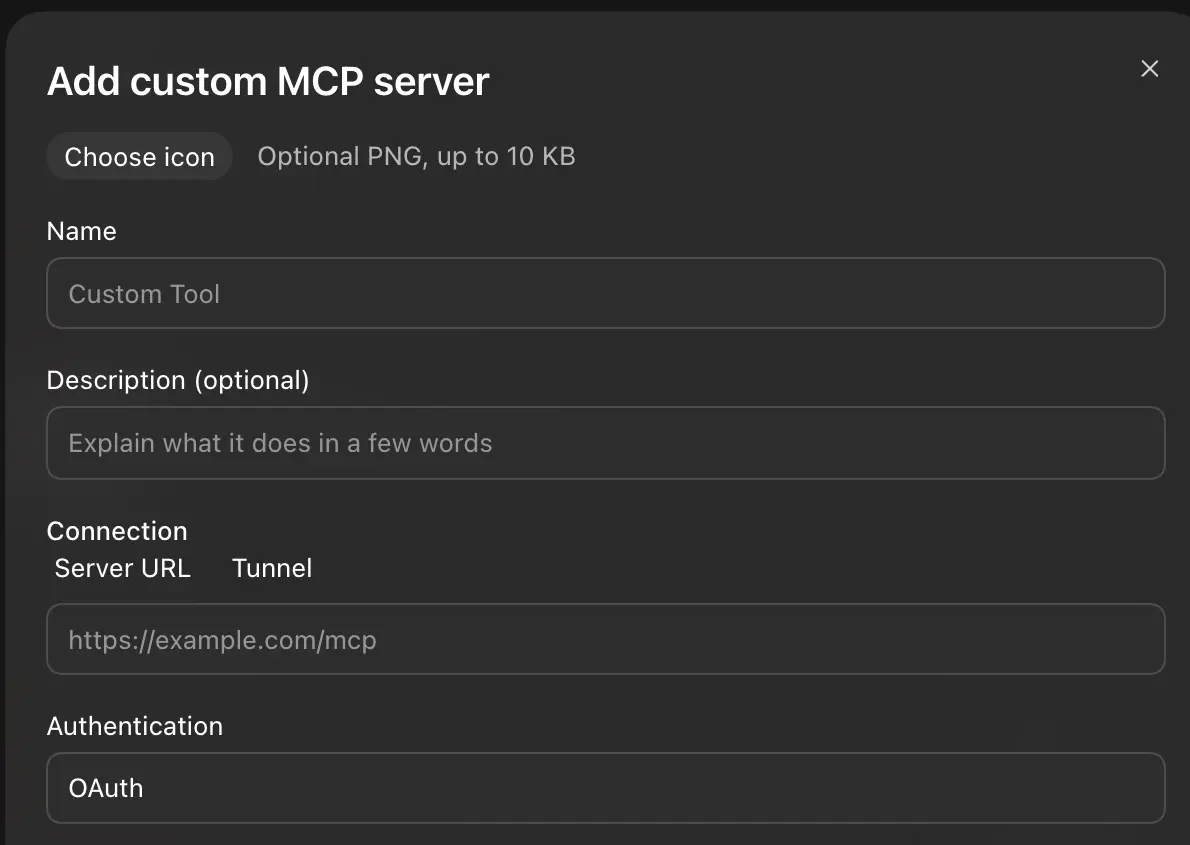
- Complete the connection prompts, create the plugin, and install it.
- Open app.trykondo.com/settings/mcp and ensure it’s green “listening for commands”.
- Return to your chat, reload, and try a read-only inbox request. It may take a short time for the tools to appear.
ChatGPT asks you to confirm every action that changes your inbox, such as saving a draft or adding a label.
Publishing to your workspace
Only Admins and Owners can publish apps for the whole workspace.
- Go to Workspace Settings > Apps
- Click Drafts, find Kondo, then click Publish
- Review any safety warnings (Kondo supports write actions like archiving and labeling)
- Once published, all workspace members will see Kondo in their Apps settings
On Business plans, apps cannot be updated after publishing — you must recreate and republish. Enterprise/Edu plans support updates and RBAC controls.